Subcontracted Measurement
For made-to-measure quality.
If you need to commission or subcontract measurements, we are the right partner for you. Simply send us your template with a drawing or CAD data and we will create an in-depth, representative measurement report for documentation purposes.

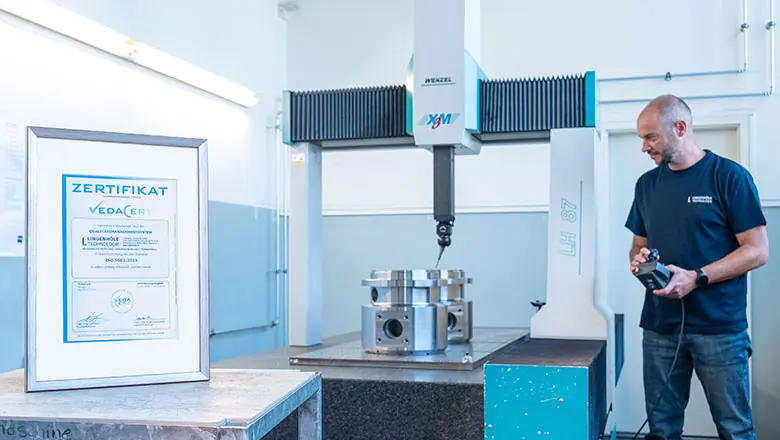
Wenzel LH87: the three-dimensional-coordinate measuring device
Our Wenzel coordinate measuring device is used in an air-conditioned measuring room to guarantee the highest-possible levels of accuracy. The measuring machine’s software, Metrosoft Quartis with Microsoft Office Fluent user interface, provides versatile programming possibilities that are able to solve almost all measuring tasks. The measurement range lies between Y: 2,000 mm, X: 800 mm and Z: 700 mm. Three-dimensional measuring variability U3 = 2.5 + (L/450) µm.
TARGET/ACTUAL comparison versus CAD data: high-performance CAD core with use of cutting-edge mathematical and graphics tools. Flexible freehand measurements with a three-dimensional best-fit line incorporating CAD model data.
Supported CAD formats: SAT, SAB, SAX (ACIS), STP, INS, VDA.
Magnetic-particle inspection
Magnetic-particle inspection (also called magnetic-particle crack detection, flux-leakage inspection or fluxing) is a process used to detect cracks in or around the surface of ferromagnetic materials.
In order to find surface discontinuities, we use a testing bench with an alternating-current coil (diameter: 400 mm) and an alternating-current magnetomotive force with a maximum of 2,000 A. The clamping length goes up to 6,000 mm.
Measuring Machine
| Make | Dimensions | Special Equipment |
|---|---|---|
| Wenzel LH8-20-7 3D CNC measuring machine | 2000 x 700 x 800 | Scanning measuring head |
Measuring and Testing
| Make | Range | Special Equipment |
|---|---|---|
| Trimos V4 | 1023 |
Crack Detection
| Make | Workpiece ⌀ | Workpiece Length | Special Equipment |
|---|---|---|---|
| K+D Fluxtechnik Universal 6000-ACC |
10-300 | 6000 |
